
Clabber – Natural Cheesemaking
Last updated on September 25th, 2026 at 03:41 pm
I’ve been on a journey lately to learn everything I can the natural way. It all started with bread. I love bread! But I wanted to find a way to make it without relying completely on the store. That’s when I discovered wild yeast—and let me tell you, it was a total game-changer. The next thing on my list? Cheese. I absolutely love cheese, and that’s where my discovery of clabber comes in.
Please read our disclaimer and Terms & Conditions
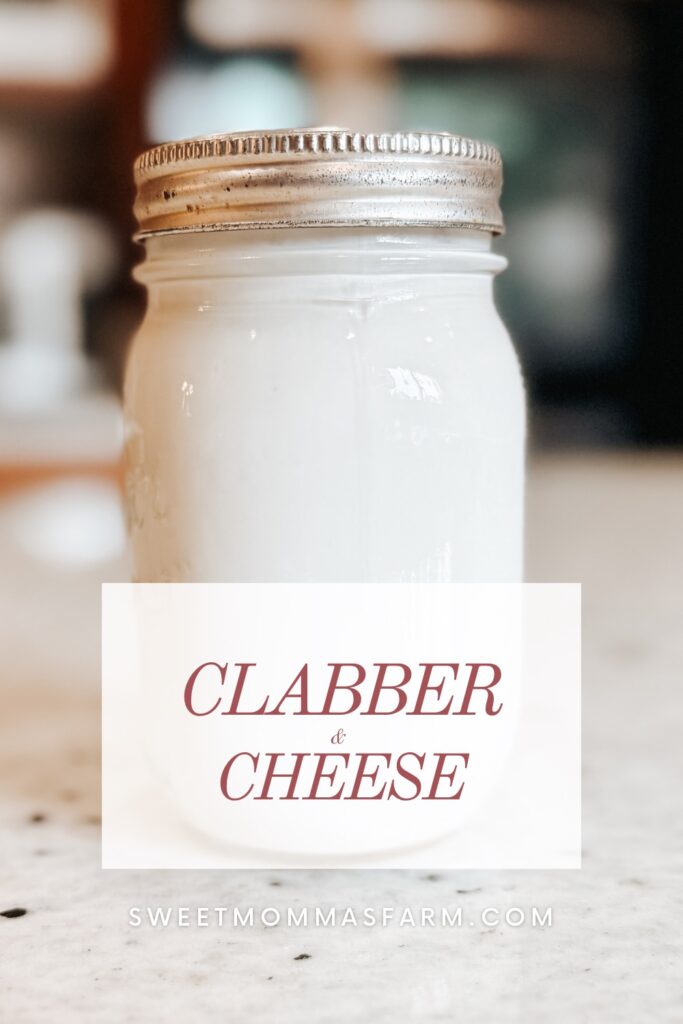
Check out my video at the end of the post
Let’s Rewind a Bit
This all really started when we got dairy goats and dairy sheep. My dream was to eventually make cheese from our own milk. But if I’m honest, I was a little intimidated by the idea, so I started making soap instead. One whole year of soap-making later, I started dabbling in cheese… but it was a disaster. I struggled a lot, and another year passed before I finally rolled up my sleeves and decided to really go for it.
That’s when I started scouring the internet and came across the Cheese From Scratch blog. She talked about clabber, and after watching a few videos, I knew I had to try it myself!
What I’ve Learned About Raw Milk
Over the last three years of drinking raw milk, I’ve learned a lot. Raw milk is pretty amazing. The more I learn about it, the more my testimony of God and His design grows.
If you want to make clabber, you’ll need raw milk—or at least milk that hasn’t been homogenized. But honestly, raw milk is best. Here’s why:
Milk from the store is pasteurized, which means it’s been heated to a high temperature to kill off bacteria. This is necessary for large, commercial dairies, where equipment has lots of nooks and crannies, and the milk often ends up with higher levels of bad bacteria. The downside is, pasteurization kills all the good bacteria too.
Raw milk, on the other hand, isn’t inherently bad. It only becomes unsafe if bad bacteria are introduced during milking. Clean milking areas, washed udders and teats, clean hands, clean buckets—these things really matter. When done right, raw milk keeps all the beneficial bacteria and enzymes that actually work together to protect the milk.
Milk is like its own little ecosystem. And that ecosystem is exactly what makes clabber possible.
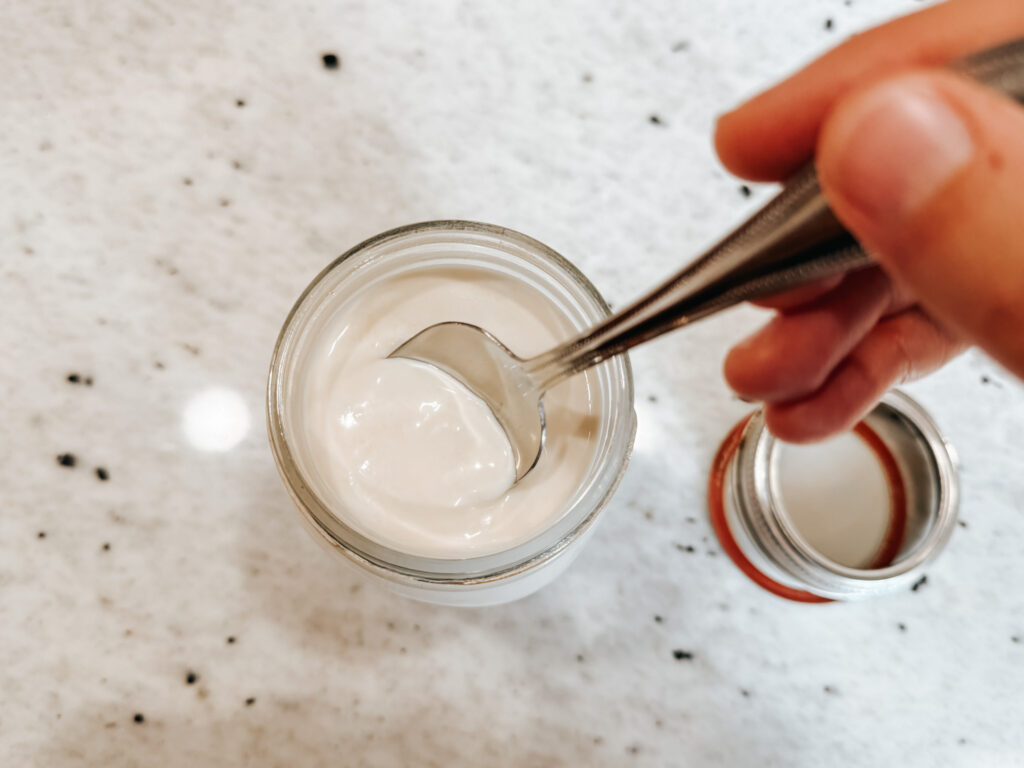
Fresh Clabber
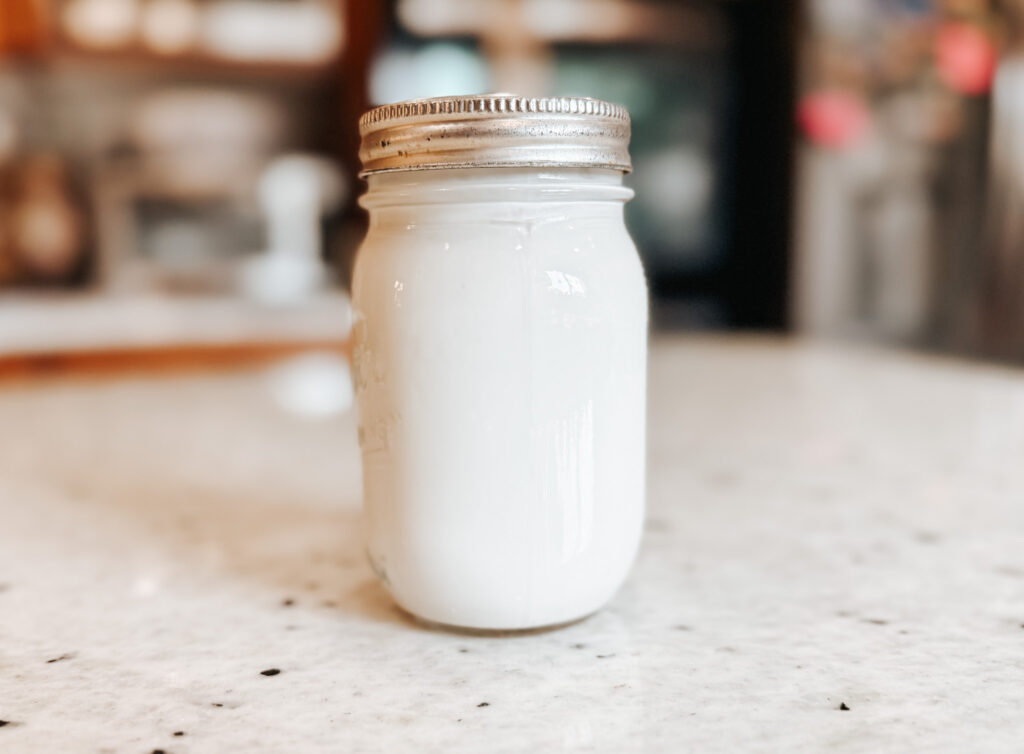
Fresh Milk
Science!
Milk is a living organism
Raw milk contains a rich micro-community of bacteria and fungi. I know that might sound kind of gross—but it’s actually pretty amazing! This living community feeds on the lactose in the milk, breaking it down in the process. So when we drink raw milk, it can actually help our bodies digest the lactose more easily.
One of the coolest things that happens during this process is something called clabber. It’s the byproduct of the microbes consuming the lactose and thickening the milk. This natural fermentation is part of why traditional cheeses are often easier to digest for people with lactose sensitivity.
What Is Clabber?
Clabber is what happens when raw milk is left out at room temperature and naturally thickens and sours in the best way. I know what you’re thinking—most of us have seen store milk go bad, and it’s gross. Smells bad, tastes worse.
Clabber isn’t like that.
Once it’s been “fed” a few times (more on that below), clabber actually smells sweet and tastes really nice. At that point, it’s perfect for making cheese—or my current favorite: clabber cheese and clabber yogurt.
How to Make Clabber
Here’s how I make clabber at home:
- Start with raw, fresh milk. Super fresh is best, but 1–2 day-old milk works too.
- Pour the milk into a pint jar or a breathable container. Think of it like sourdough—it needs some airflow. If you’re using a mason jar, turn the lid upside down so the seal is facing up toward the ring (not down toward the milk).
- Let it sit at room temperature until it clabbers. The timing varies:
- Cow, goat, and sheep milk all clabber at different rates.
- Sheep milk tends to clabber fast (thanks to higher lactose and protein).
- Temperature matters! Warmer rooms = faster clabber. For me, sheep milk at around 70°F+ clabbers by the next morning.
- It can take anywhere from 24 hours to 2–3 days.
- Once it clabbers, take a clean pint jar, fill it with fresh raw milk, and stir in 1–2 tablespoons of your clabber. This is your first “feeding.” Repeat this process daily, and within a few feedings, your clabber will taste sweet and smell amazing. (Mine was actually lovely after the first feeding but got even better.)
- Time to make clabber cheese!
- Line a strainer with cheesecloth (or a clean bread cloth—that’s my go-to).
- Pour your clabber into the cloth, then hang it over a bowl to drain the whey.
- Let it hang for 12–24 hours, and you’ll have a beautiful, soft cheese.
- Salt it, mix in some herbs, and enjoy!
Clabber cheese has become my favorite homemade cheese—it’s easy, delicious, and connects me back to that simple, natural process I love so much.
If you give it a try, I’d love to hear how it goes! Drop your questions or thoughts in the comments below—whether I missed a step or you just want to share how your clabber turned out.
Happy cheesemaking!
Also feel free to check out my youtube video all about clabber.



I never knew how to do this before! Thank you for sharing and going in depth on how to make clabber cheese!
Never heard of clabber before—this looks so wholesome and old‑school, love it!
My favorite way to make cheese is with clabber and I think clabber cheese is the best tasting fresh cheese and wonderfully soft and creamy. Besides that it’s incredibly healthy and makes the best culture even for hard cheeses. I’m totally with you here, your article makes it easy to understand the process and the benefits, I very much enjoyed reading and watching your video.
Hi! I would love to learn more about how you make clabber. I’m so intrigued! After your clabber is “set up”, do you refrigerate it – and save some for your next batch of clabber? (I’m equating the process to sourdough!) I’d like to make clabber to add to smoothies, initially – and then hopefully cheese! Thank you for this video. : )
With clabber you can place it in the fridge for a few days, but it will turn sour and you won’t want to make cheese out of it. It would probably be okay for a smoothie. You can place it in the freezer for a month or so until you need it again, so it is like sourdough in that way. However, you aren’t feeding the same clabber. You are needing a new batch of fresh milk every day and take a little bit of the clabber from the day before and feed it. What the day before clabber does is help kick start the right bacteria that you want, so it tastes good and clabbers faster. This way you have a consistent (hopefully) delicious tasting clabber that you can create cheese or put in a smoothie. I hope that helped.