Everything You Need to Know About Water Bath Canning
Last updated on September 25th, 2026 at 03:40 pm
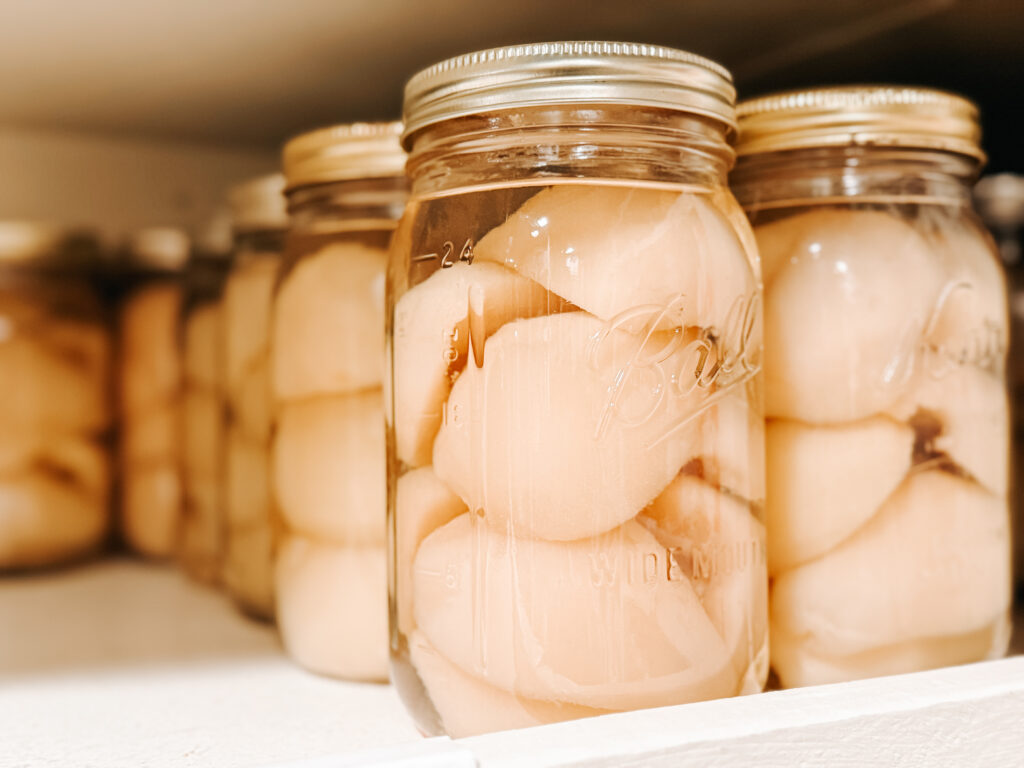
Canning has been around since the early 1800s. You can thank Napoleon Bonaparte for it. He needed a way to feed his army and so water bath canning was invented. There is something so satisfying about lining up jars of food you’ve grown, harvested, or gathered yourself. To me, it feels like security in a jar—tucked away for the winter months, or for whenever life throws something unexpected at us. (Basic water bathed foods can last up to 7 years)
Read Our Disclaimer and Terms & Conditions
If you’ve ever thought about water bath canning but felt intimidated, don’t worry. It’s really not as complicated as it sounds! Today I want to share everything you need to know about water bath canning, from what it is, to the tools you’ll need, to step-by-step directions to get you started.
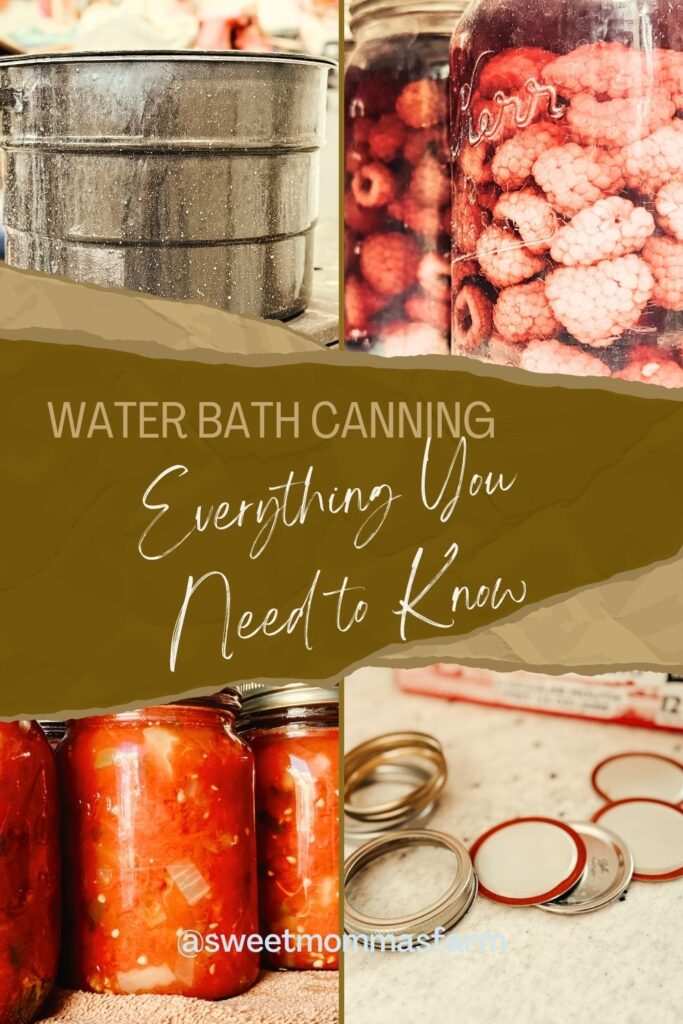
What Is Water Bath Canning?
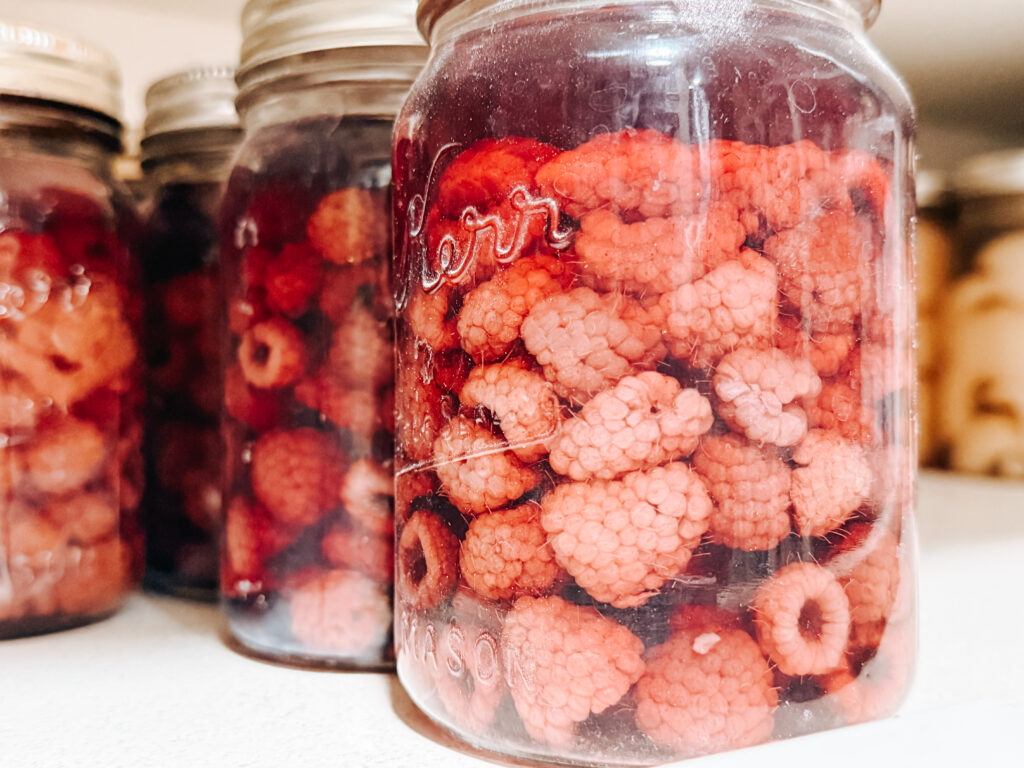
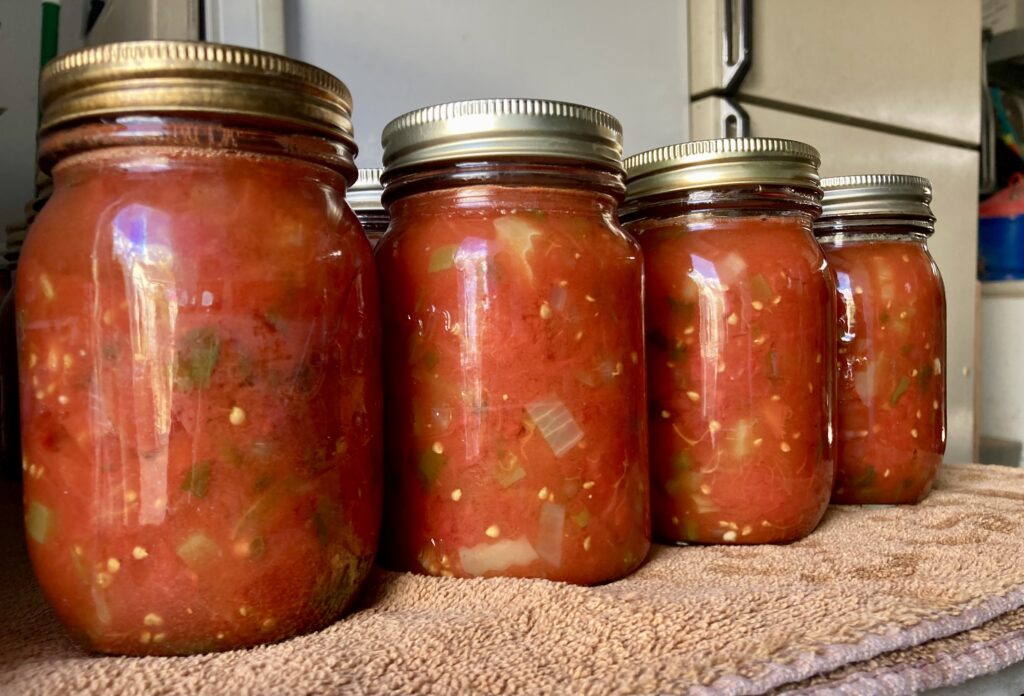
Water bath canning is a simple way to preserve high-acid foods like fruits, jams, jellies, pickles, salsas, and even some tomato products. The jars are filled with your prepared food, sealed with lids, and then submerged in boiling water for a certain amount of time. The heat kills off bacteria, yeast, and mold, while also creating a vacuum seal that keeps your food shelf-stable for months to years, depending on what it is and when stored in a cool dark places.
It’s a time-tested way to store up food, and the beauty is, you don’t need expensive equipment to get started.
What You’ll Need
You don’t have to go buy everything new—use what you already have where you can. But here are the basics:
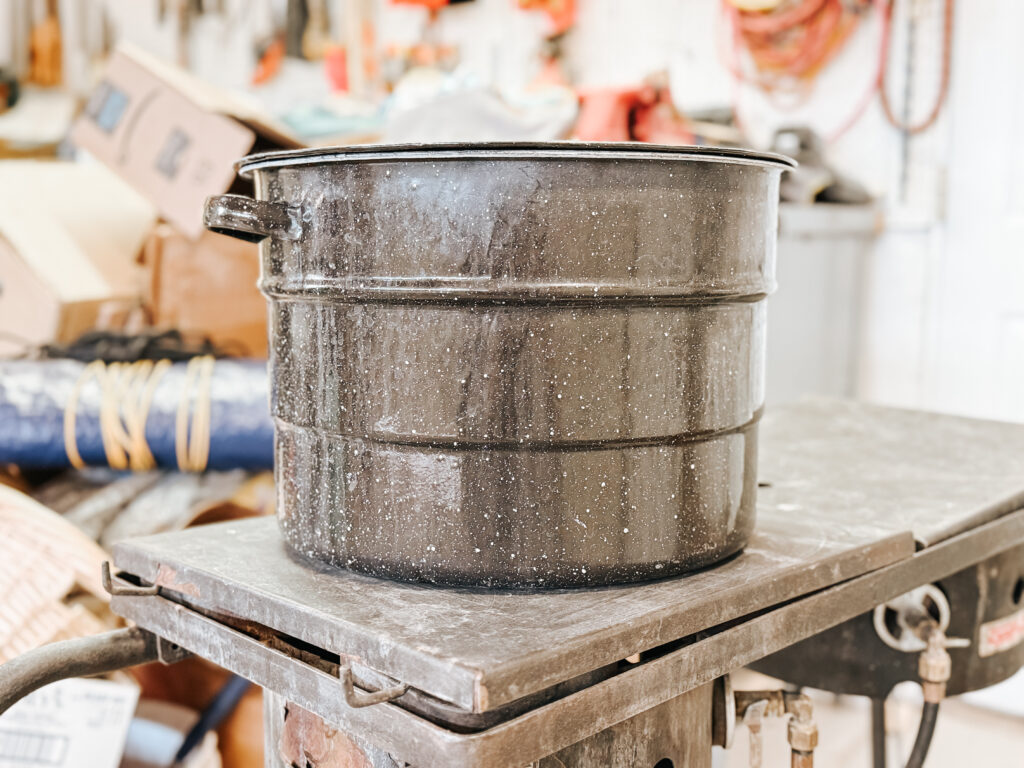
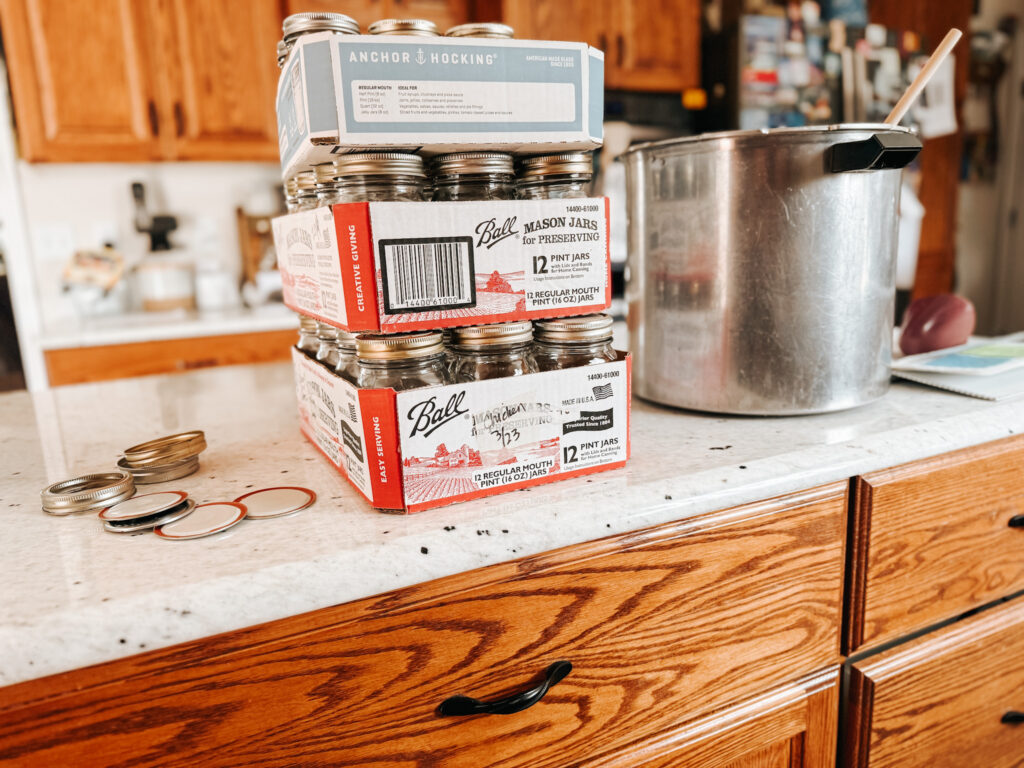
- Water bath canner (or a large deep pot with a lid) – must have
- Jar rack (keeps jars from rattling and breaking at the bottom of the pot) – Not a have to. I don’t always use it.
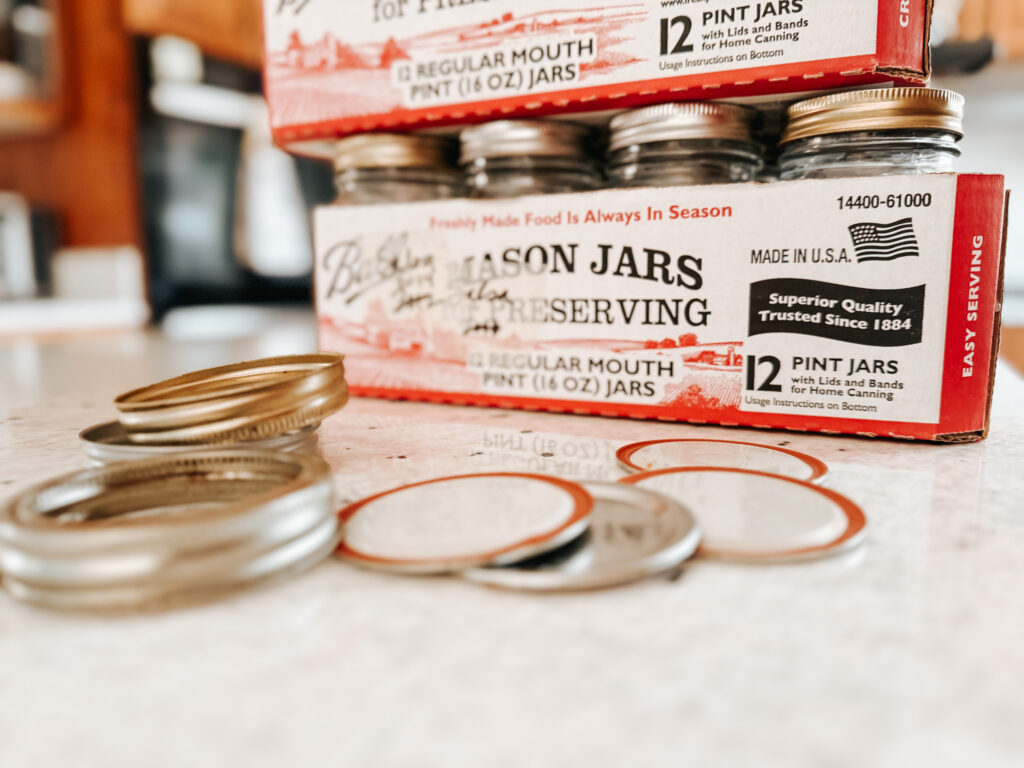
- Canning jars (Mason jars are most common) -must have and name brand prefered
- Wax sealed lids (flat lids with bands/rings) -must have
- Jar lifter (a must for pulling hot jars out safely)- This really does come in handy and I highly recommend, but not a have to. You could use tongs.
- Funnel (to keep rims clean when filling jars) – Also very handy
- Bubble remover or butter knife (to release trapped air bubbles) – I use a butter knife
- Clean towels
Once you’ve gathered these, you’re ready to roll.
Step-By-Step Guide to Water Bath Canning
- Prepare your food.
Whether it’s strawberry jam, peach slices, or dill pickles, get your recipe ready and keep it hot. - Sterilize your jars.
Wash jars and bands in hot soapy water. - Fill jars.
Place a funnel on the jar, ladle in your hot food, and leave the proper headspace (usually the bottom rim of the jar—or your recipe will tell you). - Remove air bubbles.
Slide a butter knife or bubble remover tool along the inside of the jar to release bubbles. Adjust headspace if needed. This is usually with whole fruits or sliced fruits. No need to do it when its liquid (like salsa) or jam. - Wipe rims.
Use a damp cloth to wipe the rim clean—any residue can keep your jar from sealing. - Apply lids and bands.
Place the wax seal lid on top and screw the band down to fingertip tight (not cranked on tight, just snug). - Process in boiling water.
Place jars in your canner on the rack, making sure they’re covered by at least 1–2 inches of water. Bring to a rolling boil (you may need to adjust the temperature if it starts to overflow) and process for the time listed in your recipe (processing time depends on your food and altitude). - Cool jars.
When time is up, use a jar lifter to carefully move jars to a towel-lined surface. Leave them undisturbed for 12–24 hours. - Check seals.
After cooling, press the center of each lid. If it doesn’t pop back, it’s sealed! Any jars that didn’t seal can go in the fridge to use first. Tip: If you go to open the jar and it isn’t difficult or pop when it opens. DON’T use it! - Label and store.
Write the contents and date on the lid or label, then store jars in a cool, dark place.
Why I Love Water Bath Canning
There’s something almost sacred about canning to me. It slows me down and connects me to generations before me who did the same thing with what they had on hand. I love hearing the “ping” of jars sealing—it’s music to a homesteader’s ears!
And best of all, I know what’s in my food. No preservatives I can’t pronounce, no hidden additives—just real, simple ingredients.
Tips for Success
- Always follow a tested recipe (the acidity matters for safety).
- Don’t reuse wax sealed lids—they’re single-use only. Bands and jars can be used over and over.
- Adjust processing time if you live at higher elevation.
- Start small! Even just a batch of jam will give you confidence.
Final Thoughts
Water bath canning is one of those skills that seems old-fashioned, but it’s incredibly valuable today. Whether you’re building up food storage for peace of mind or just want to enjoy the taste of summer peaches in the middle of January, this is a skill worth learning.
So gather up some jars, pick your favorite recipe, and give it a try. I promise—you’ll be hooked the first time you hear that satisfying “ping”!